
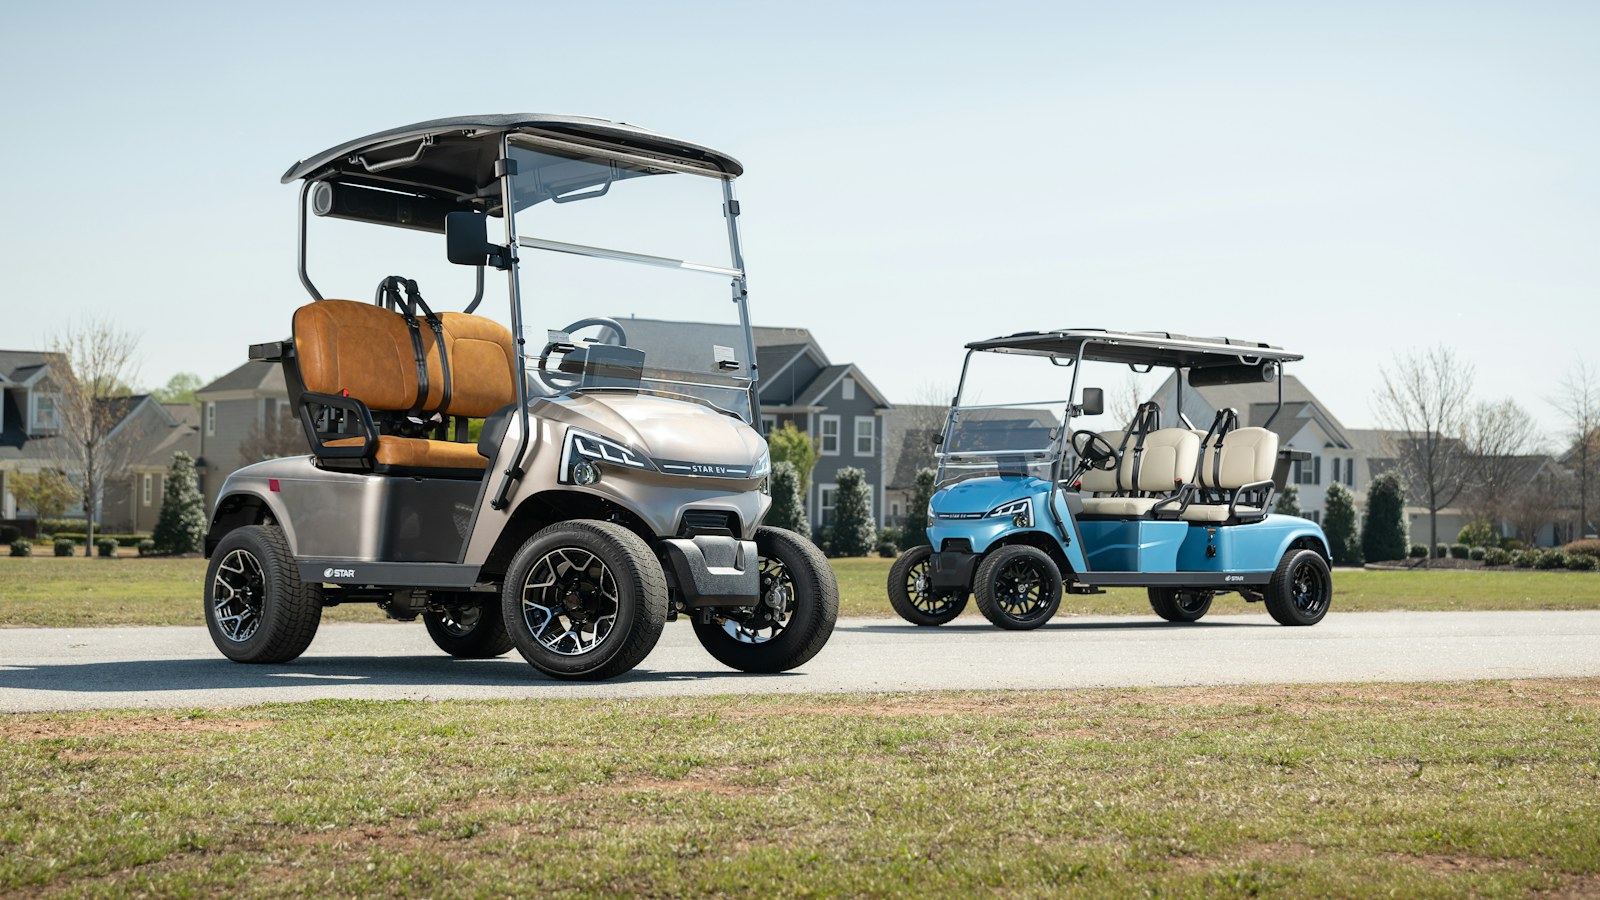
LED lighting is one of the most common golf cart upgrades, but the light kit still needs to match the cart’s voltage, body, wiring, and intended use. A bright headlight does not help if the kit is connected to the wrong power source or the housings do not fit the cart correctly.
Before buying lights, identify the cart model, pack voltage, available accessory circuit, and whether the kit includes a harness, switch, brake-light wiring, turn signals, and any required voltage reducer.
Check the cart voltage first
Many golf carts use 36V or 48V battery packs, while common automotive-style accessories are designed for 12V input. Some carts already have a supported 12V accessory circuit. Others need a voltage reducer to power 12V lights and accessories correctly.
Do not connect a 12V light kit directly across the full 36V or 48V pack. Also avoid repeatedly pulling accessory power from only part of a series lead-acid pack unless the cart manufacturer specifically supports that arrangement, because uneven loading can contribute to battery imbalance.
Know what the light kit actually includes
A complete street-style kit may include more than headlights. Check the listing rather than assuming every box contains the same components.
- Headlights
- Tail lights
- Brake-light switch or wiring
- Turn signals
- Horn
- Dash switch
- Main wiring harness
- Fuse or relay
- Voltage reducer, if required
Model-specific fitment matters
Some kits are built around a specific front cowl or body opening. A kit for a Club Car Precedent is not automatically interchangeable with an E-Z-GO TXT or Yamaha Drive kit even if the electrical voltage is similar.
Before ordering, verify model year, body style, mounting template, connector locations, and whether cutting the body is required.
Look beyond brightness
Very bright headlights are not automatically better. Beam pattern, aim, mounting height, and glare control determine how useful the lights are in real driving.
A correctly aimed moderate light can provide better road visibility than an extremely bright light bar pointed too high. After installation, test the beam on level ground and adjust it before regular night use.
Plan the wiring before installation
- Route wires away from steering, pedals, suspension movement, and sharp edges.
- Use a fuse sized for the circuit and follow the kit instructions.
- Protect exposed connections from water and corrosion.
- Secure the harness so it cannot rub against moving parts.
- Confirm the reducer capacity if several 12V accessories share it.
- Label added circuits if the cart has several aftermarket electrical upgrades.
LED lighting products worth comparing
Affiliate disclosure: We may earn a commission from qualifying purchases.


The light kit is intended for compatible Club Car Precedent carts and should be checked against model year and installation requirements. The reducer is an example of a 36V/48V-to-12V solution for compatible accessory circuits. Confirm load capacity and wiring before use.
Test the complete system after installation
Do not stop after confirming that the headlights turn on. Test all installed lighting and accessories together.
- Headlights
- Tail lights
- Brake lights
- Turn signals
- Horn
- Other 12V accessories sharing the same reducer
If lights flicker, a fuse repeatedly opens, wiring becomes hot, or voltage drops unexpectedly, stop using the circuit and inspect the wiring, connections, reducer capacity, and battery system.
LED light upgrade checklist
- Cart model and year confirmed
- Battery-pack voltage confirmed
- Accessory input voltage confirmed
- Reducer requirement checked
- Harness and switch contents checked
- Body cutting requirements checked
- Fuse protection planned
- Wire routing planned
- Headlight aim adjusted after installation
Frequently asked questions
Can I run 12V LED lights on a 48V golf cart?
Yes, if the lights receive a proper 12V supply through the cart’s supported accessory system or a correctly sized voltage reducer. Do not connect 12V lights directly to 48V.
Do LED golf cart lights need a relay?
It depends on the kit design and electrical load. Follow the supplied wiring diagram. Some complete harnesses already include the switching and protection components they need.
Why do golf cart LED lights flicker?
Possible causes include loose connections, poor grounds, an overloaded or failing voltage reducer, low battery voltage, damaged wiring, or an incompatible power source.
