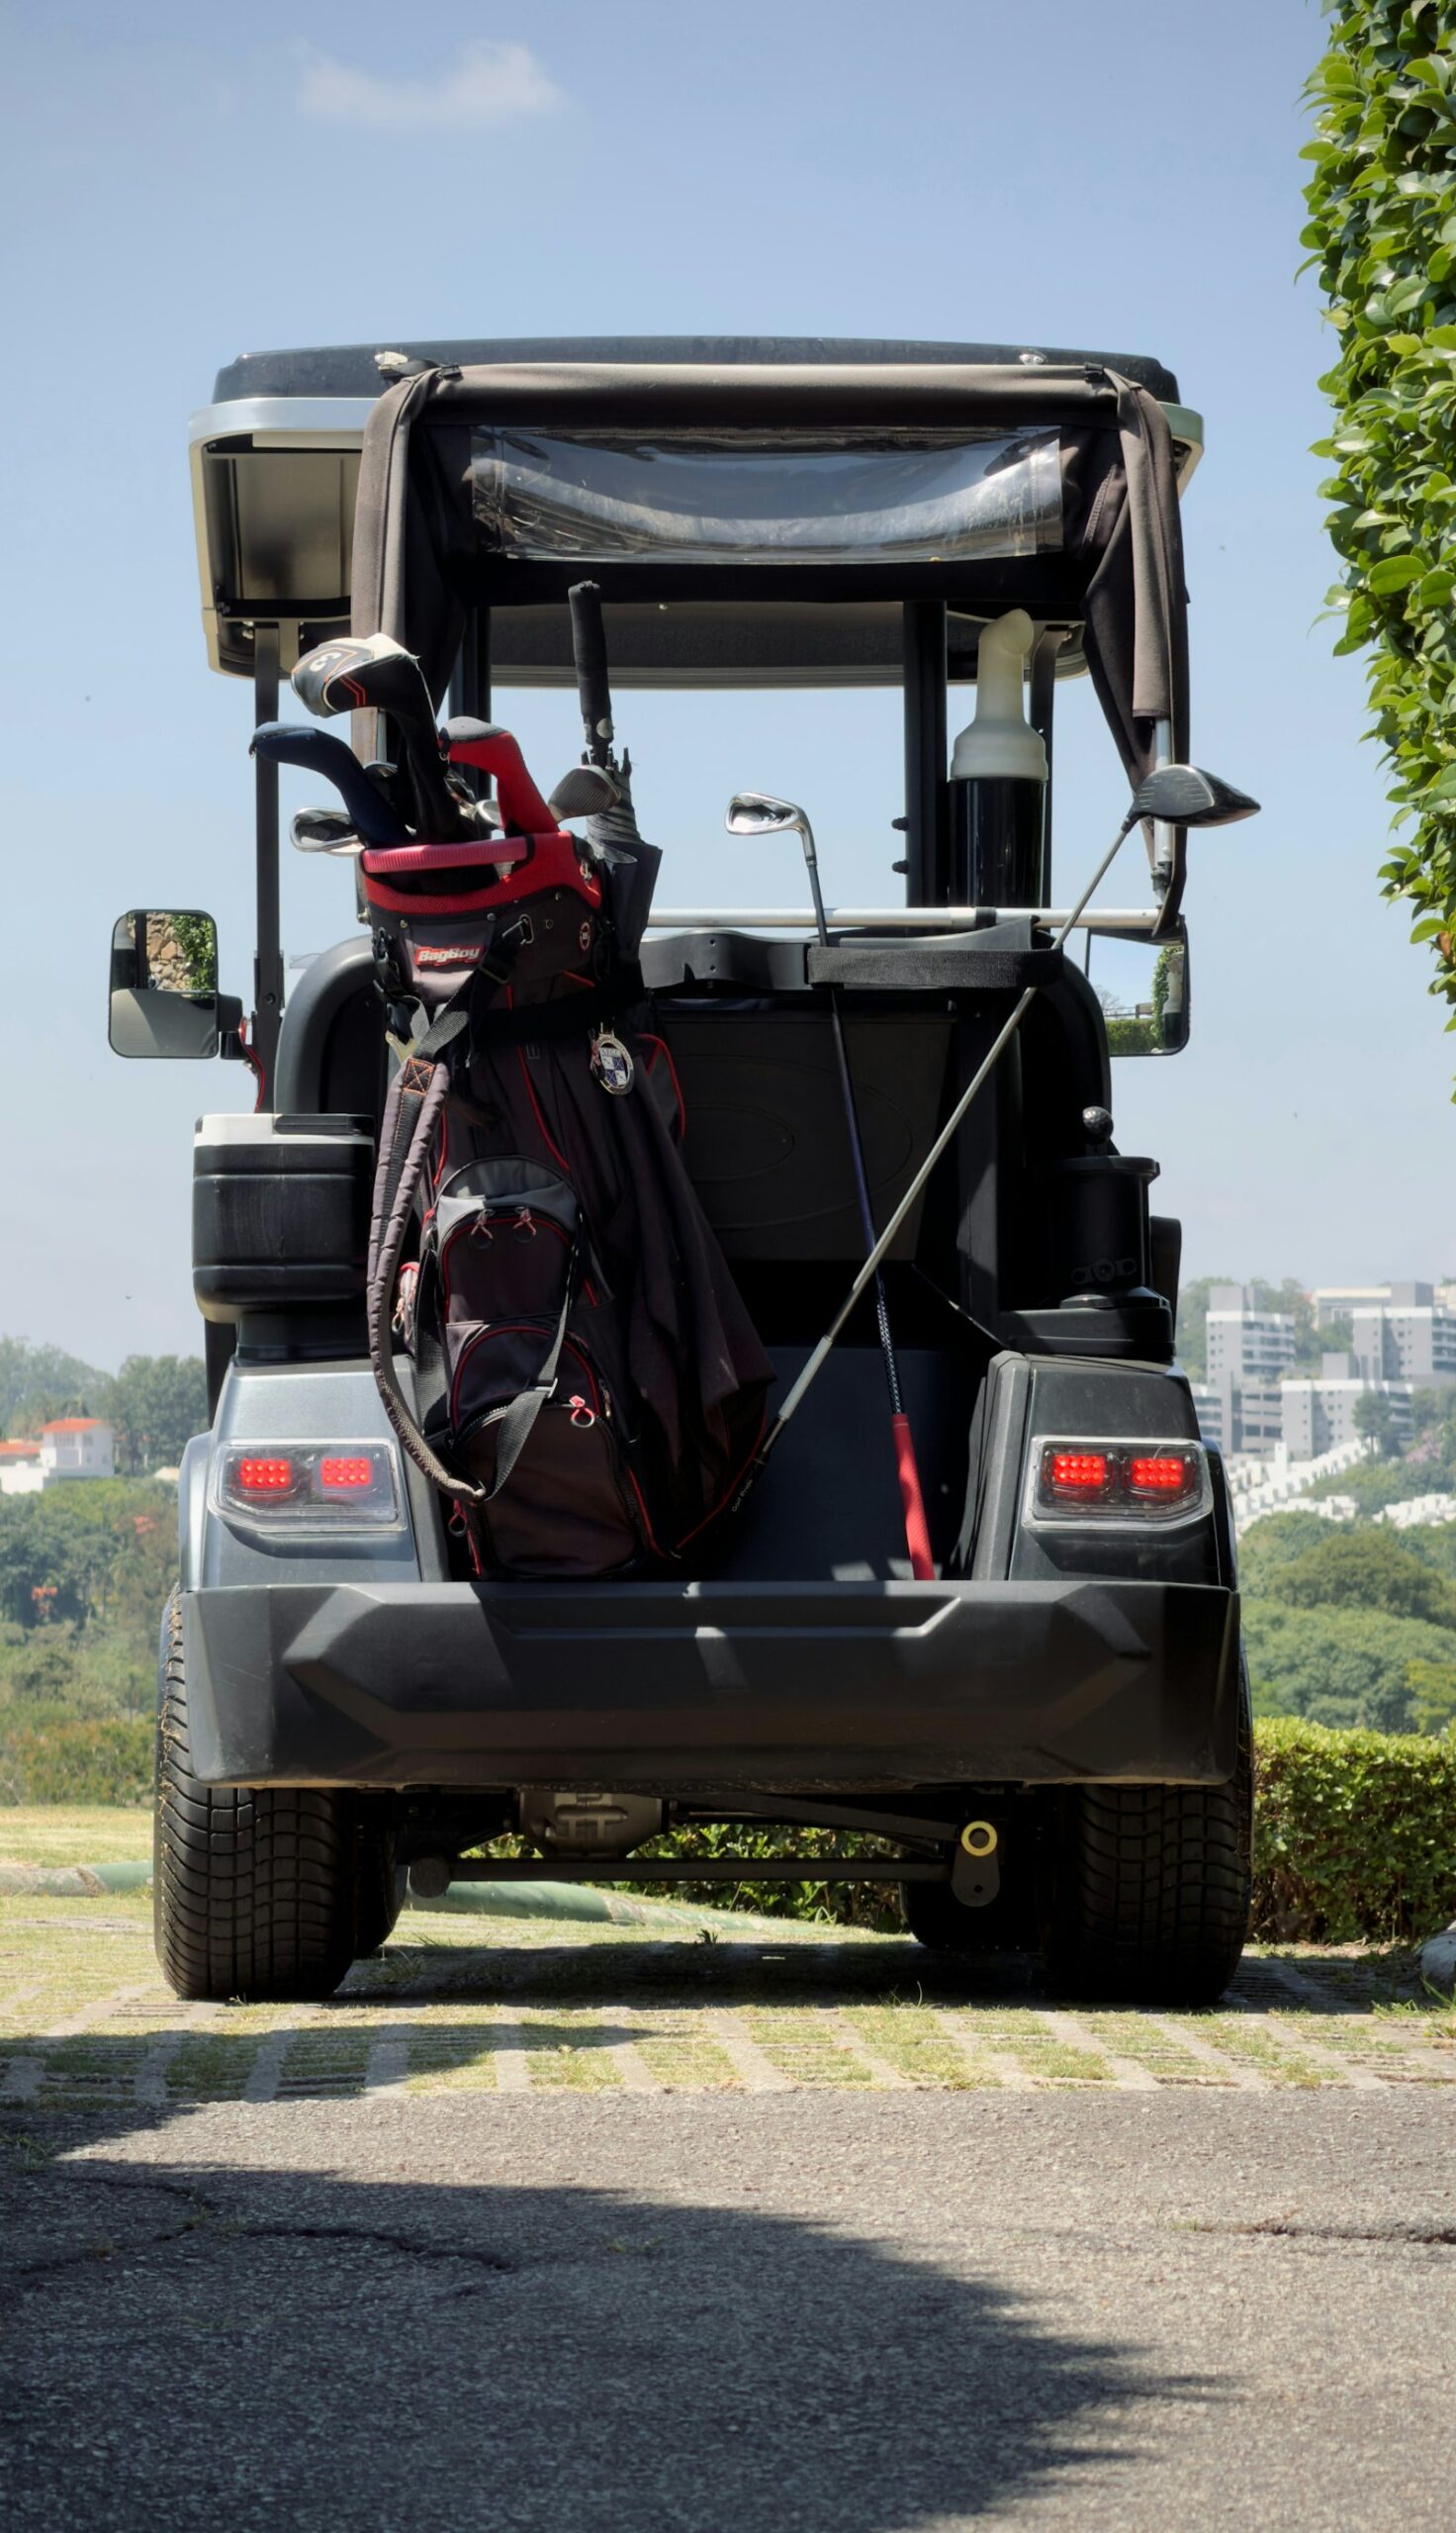
Putting a storage cover on a golf cart is simple, but fitment and orientation matter. Start with a clean, dry cart, identify the front and rear of the cover, pull it over the roof without dragging it across dirty surfaces, then secure the hem and straps so wind cannot lift it.
Choose the correct cover size
Match the cover to the cart’s passenger count, roof length, rear-seat configuration, and accessories. A cover for a 2-passenger cart may not fit a 4-passenger cart with a rear flip seat or extended roof.
Use our golf cart cover size guide before ordering.
Cover only a clean, dry cart
Remove loose grit and let wet surfaces dry first. Trapped dirt can rub against the body, while trapped moisture can encourage mildew and corrosion during storage.
Find the front and rear labels
Many covers are shaped differently at each end. Locate any front marking, mirror pockets, zipper door, or elastic contour before pulling the cover over the cart.
Start at the roof
Place the cover over the roof and work downward rather than dragging it across the ground. Pull the material over mirrors, windshield edges, and rear-seat components carefully to avoid tearing seams.
Secure the bottom
Fit the elastic hem below the body where intended and connect any belly strap or buckle. The goal is a snug fit without stretching the fabric so tightly that sharp accessories press through it.
Allow ventilation
A breathable cover or built-in vents can reduce condensation. Avoid sealing a wet cart inside a non-breathable cover for long storage periods.
Compare indoor and outdoor options in our outdoor storage cover guide.
Compact cover example

Windy-weather checklist
- Elastic hem is seated correctly
- Belly strap is connected
- Loose fabric is not flapping against sharp edges
- Cover is not rubbing on hot engine parts
- Vent openings remain unobstructed
Bottom line
Install a golf cart cover from the roof downward, keep the cart dry before covering it, and secure the lower hem and straps so the cover stays stable without damaging paint or accessories.