
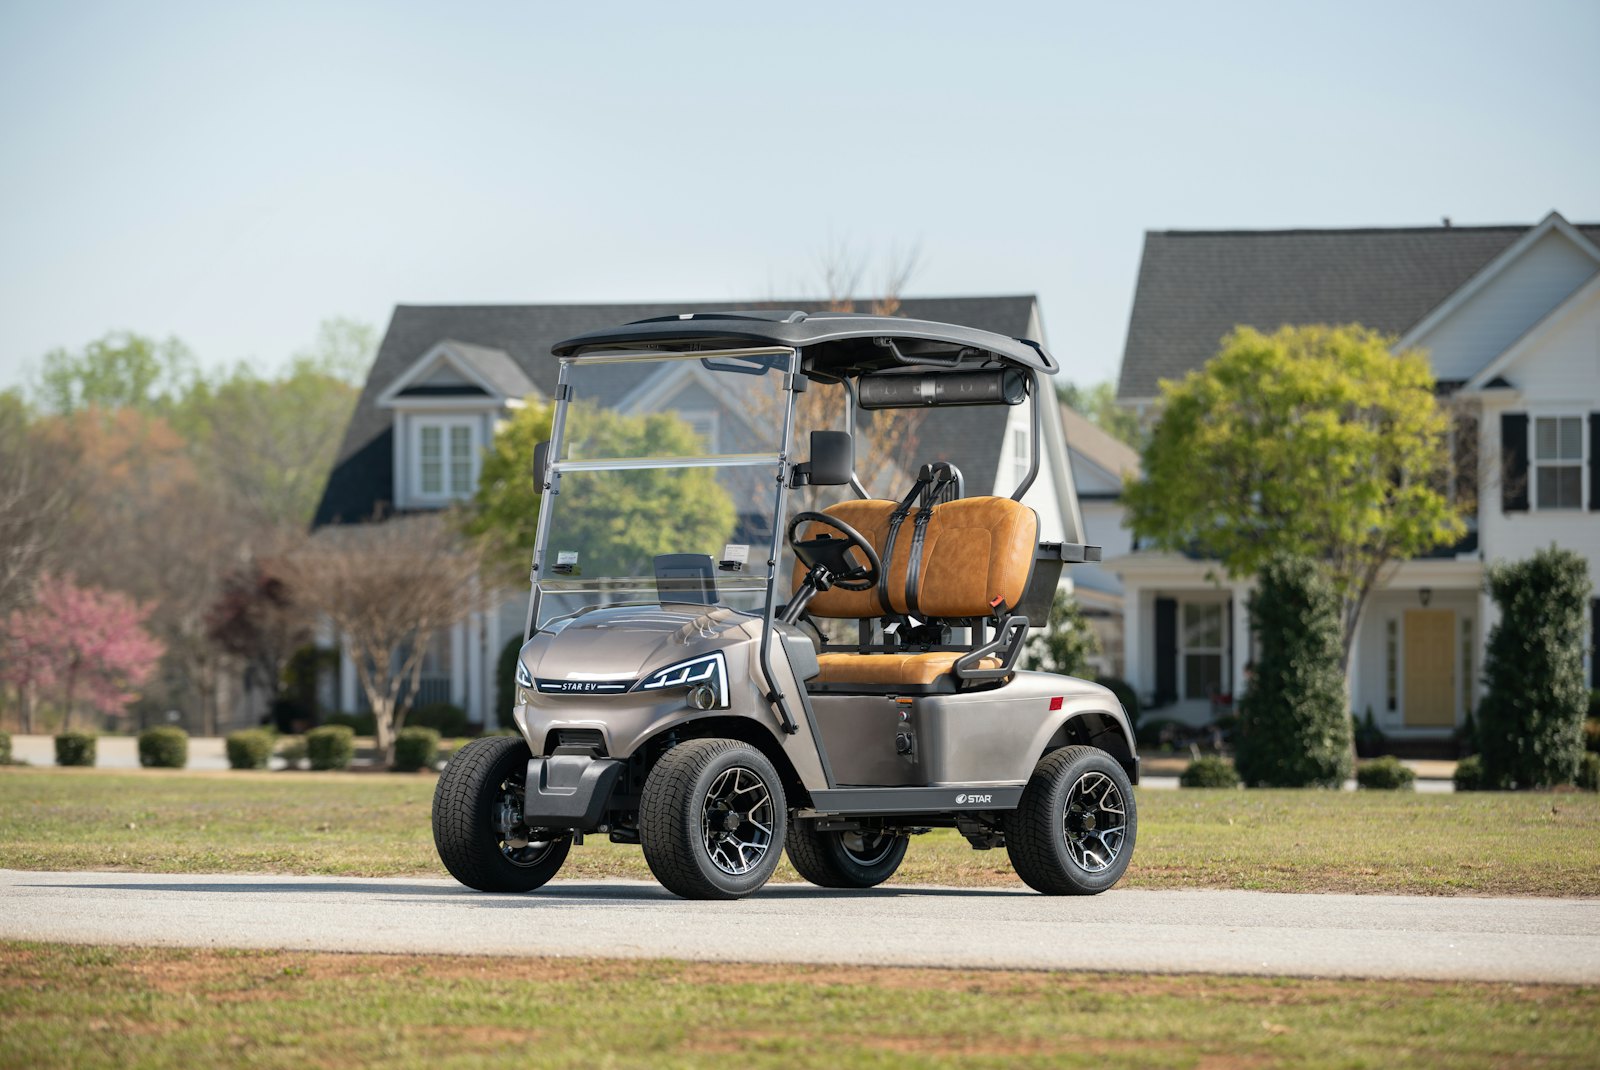
Installing a rear seat on a golf cart is not a universal bolt-on job. The safest approach is to start with a rear-seat kit made for the exact cart model and generation, then follow the kit instructions for frame brackets, roof supports, footplate, grab bar, seat base, and hardware.
For E-Z-GO TXT owners, one model-specific example is:
Affiliate disclosure: We may earn a commission from qualifying purchases.

That example does not establish fitment for RXV, Club Car, Yamaha, or every TXT year. Verify the listing and your cart before ordering.
Why model-specific fitment matters
Rear-seat kits attach to structural points at the back of the cart. Mounting-hole spacing, rear body shape, roof supports, bumper layout, frame brackets, and suspension loads differ between platforms.
A kit that physically sits near the frame is not necessarily safe to carry passengers.
What a typical rear-seat kit includes
- Main rear-seat frame
- Seat bottom and backrest cushions
- Footplate or step platform
- Rear roof supports or support brackets
- Grab bar
- Hinges or flip-bed hardware
- Model-specific mounting brackets
- Bolts, washers, spacers, and lock nuts
Some kits also include a cargo-bed conversion function, seat-belt provisions, or a trailer-hitch receiver. Do not assume those features are rated for the same loads across brands.
Before installation: inspect the cart
Check the rear frame and mounting area for rust, cracks, damaged threads, bent brackets, or previous modifications. Inspect the rear suspension as well. Adding passengers increases load on springs, bushings, shocks, tires, brakes, and wheel bearings.
If the cart already sags with its current load, address the suspension before adding more seating.
Step 1: Park and secure the cart
Park on a flat surface, set the parking brake, switch the key off, and remove it. If the work requires lifting the cart, use the model’s approved lifting/support points and jack stands.
Step 2: Remove only the parts specified by the kit
Many installations require removing the factory rear bagwell, sweater basket, bumper trim, or roof-support hardware. Keep all factory fasteners organized and photograph the original assembly before taking it apart.
Do not cut body panels or frame components unless the kit instructions explicitly require it.
Step 3: Loosely assemble the main frame
Start the main brackets and structural members with hardware finger-tight. Leaving some movement helps align the frame before final torque.
If holes do not line up naturally, stop and confirm the part orientation and cart year. Forcing a bracket with a pry bar can load the frame incorrectly.
Step 4: Install the rear roof supports
If the kit replaces or extends the rear roof supports, align them before tightening the seat frame completely. Check that the roof remains square and that the supports do not interfere with an enclosure, rear speakers, or accessories.
Step 5: Fit the footplate and grab bar
The footplate should sit level and clear the rear tires through suspension movement. Install the grab bar with all specified hardware because rear passengers may rely on it when entering or exiting.
Never use an unsupported decorative bar as a passenger handhold.
Step 6: Install cushions and flip mechanism
Attach the seat bottom and backrest, then check any flip-bed hinges or latches. The seat should lock into its intended position without binding.
Operate the flip mechanism several times before allowing passengers to use it.
Step 7: Torque the hardware
Once everything is aligned, tighten fasteners to the values specified by the rear-seat manufacturer. Recheck fasteners after the first few drives because newly assembled joints can settle.
Check tire and suspension clearance
Load changes can expose problems that were not obvious when the cart was empty. With the cart on level ground, check rear tire clearance, spring position, shock travel, and body-to-tire clearance.
If larger wheels, spacers, or a lift kit are installed, verify those parts do not conflict with the rear-seat frame or footplate.
Do you need heavy-duty springs?
Not every cart needs them, but adding two rear passengers significantly increases rear-axle load. If the cart squats, bottoms out, steers poorly, or rubs tires after the conversion, the suspension may need an appropriate upgrade.
Do not install the stiffest spring automatically. Match the suspension to the expected load and model.
Seat belts and passenger safety
If the cart will carry rear passengers regularly, use a properly engineered seat-belt system compatible with the seat structure and cart. A belt attached to weak sheet metal or an unreinforced accessory bracket can create false confidence.
Bottom line
A rear seat should be treated as a structural passenger conversion, not just a cushion upgrade. Use a model-specific kit, inspect the cart first, assemble the frame without forcing alignment, verify roof and tire clearance, torque all hardware correctly, and reevaluate suspension and braking once the cart carries the additional load.
